
How Single Helm Chart Works For All Microservices
Single Helm Chart can simplify the deployment process of microservices by allowing a single chart to handle all services. This can save time and effort for developers while still ensuring consistency and reliability in the deployment process.

As you continue to deploy microservices using Kubernetes, you'll realize that it involves managing multiple individual deployment files, which can become challenging to manage, upgrade, or roll back. To simplify this process, Helm, the popular package manager for Kubernetes, helps with packaging and managing Kubernetes resources and offers robust templates for deploying applications and services with ease.
In this article, we'll examine how a single Helm chart can work for all microservices, how it simplifies the deployment process, and list down the Kubernetes resources related to a Helm deployment or a chart.
Single Helm Chart for the Deployment of Multiple Services
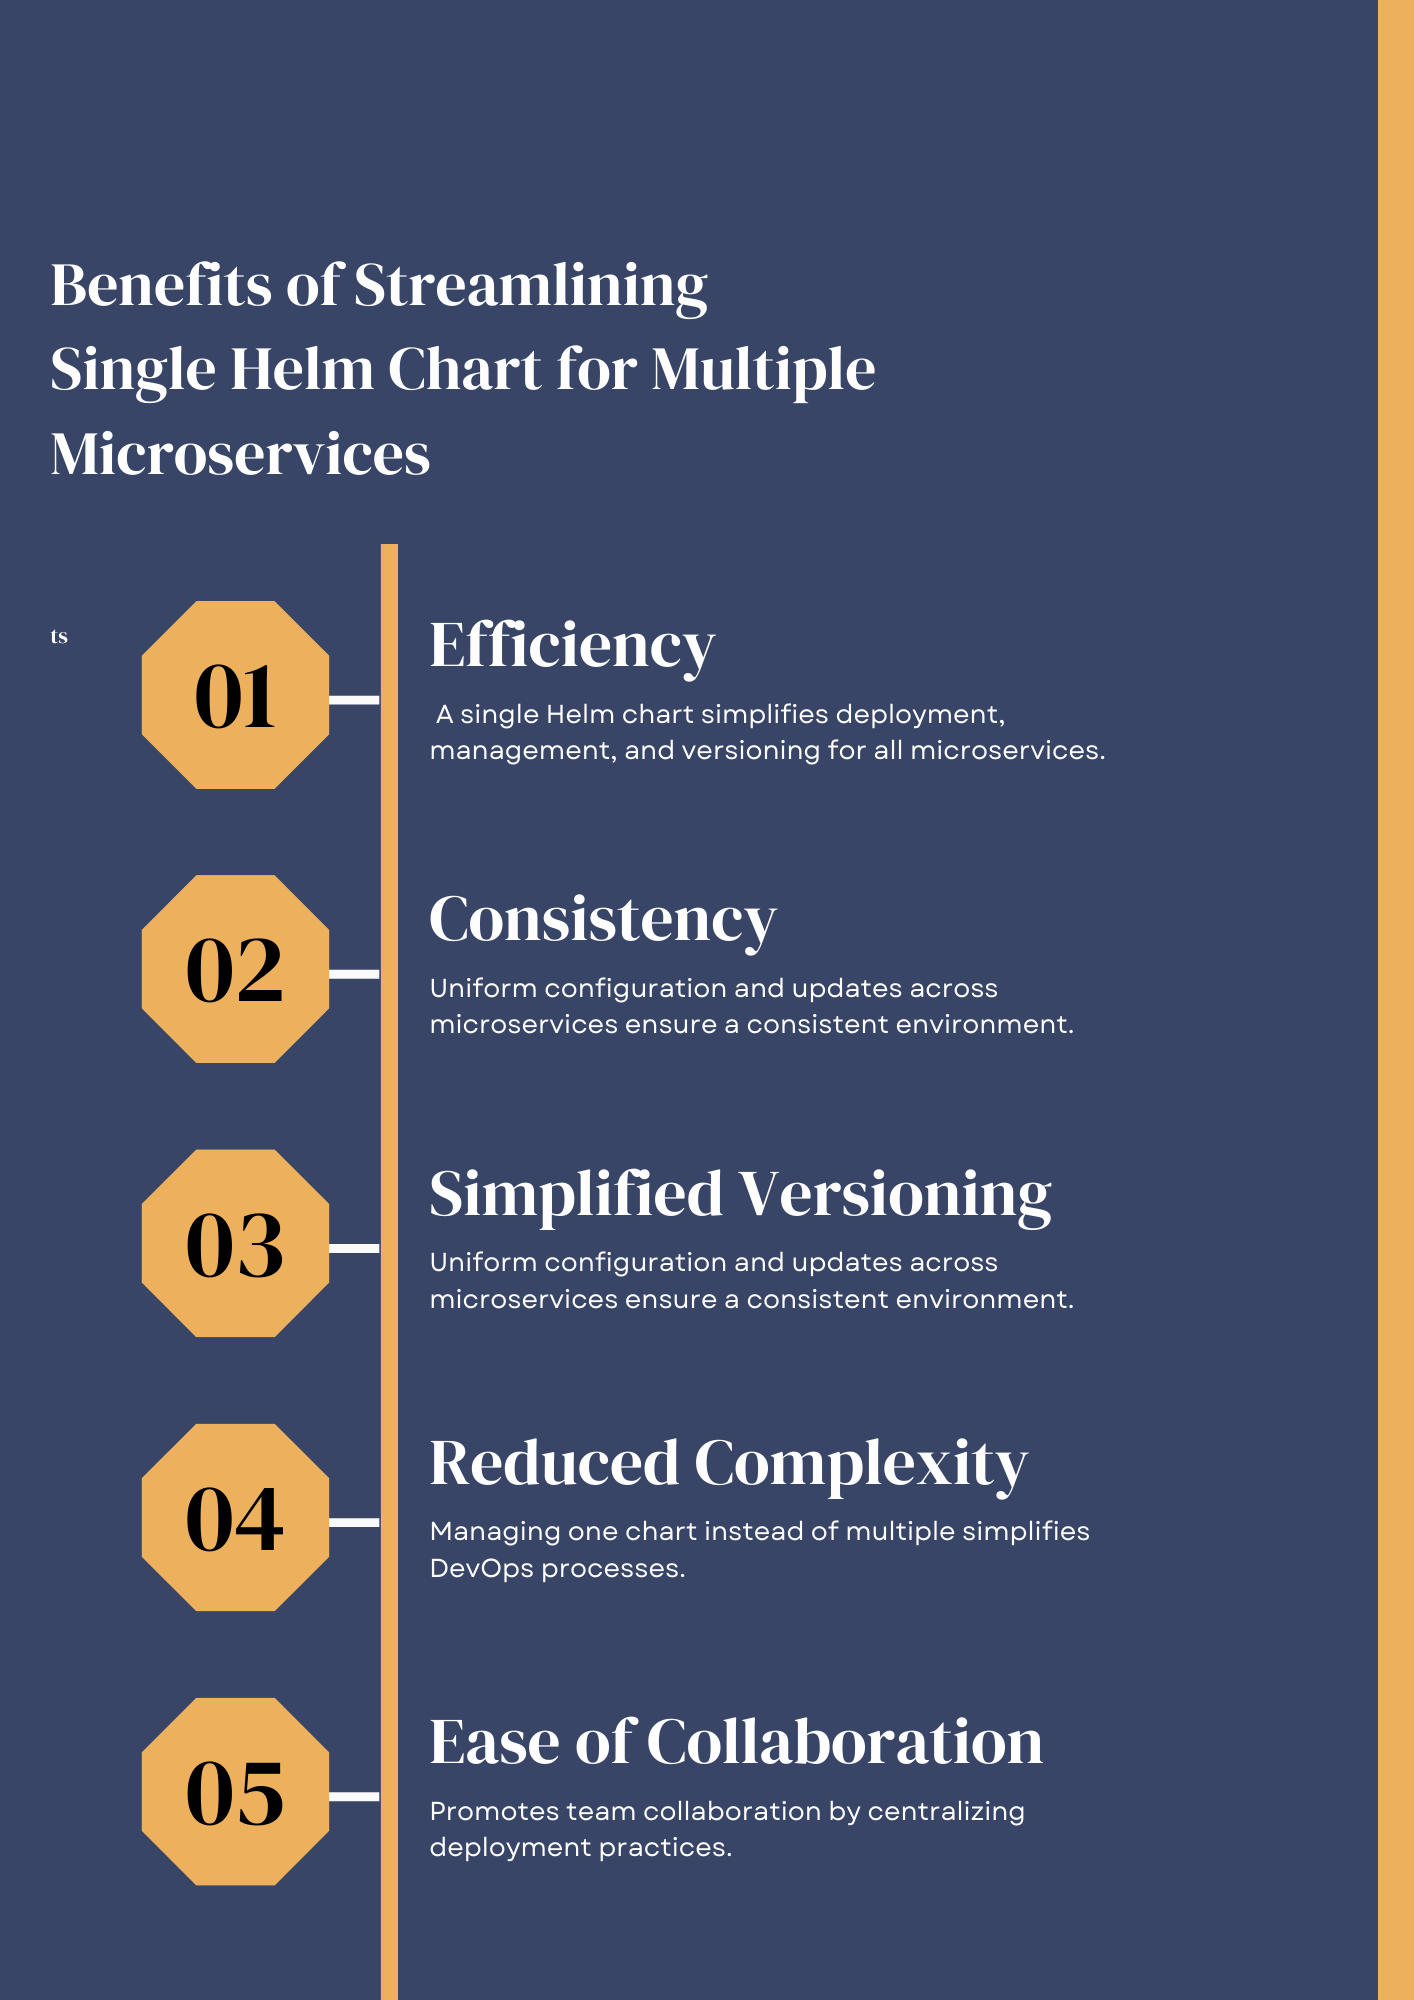
A Helm chart is a file collection describing a related set of Kubernetes resources. It enables a single source-of-truth for all Kubernetes deployments for a specific microservice. DevOps teams can benefit from using a single Helm chart for multiple microservices.
After gaining a deeper understanding of the benefits of using Helm, it is currently unclear about the most effective approach to take when it comes to developing Helm charts for microservices. While the initial intention was to use a single Helm chart for all microservices, the pros and cons of creating individual Helm charts for each microservice are being weighed.
Ideally, have a single Helm chart that could be updated by simply changing the `Chart.yml` and values.yml files for each microservice while keeping everything else the same. Of course, the microservice name, version, and repository would vary for each microservice. Essentially, skimming for a "template" for Chart.yaml and values.yaml .
Solution 1:
Typically, a Helm chart should cover all microservices to enable deploying the complete application via a single chart. Nonetheless, dependent charts must be managed if there is a need to incorporate external third-party dependencies. However, this goes beyond the scope of the inquiry.
When microservices exhibit significant similarities, use loops like this:
{{- range $index, $service := .Values.myservices}}
apiVersion: apps/v1
kind: Deployment
metadata:
  name: myapp-{{ $service.name }}
# --- etc ---
{{- end }}
Creating a distinct repository for all Ops CD files is recommended, including the Helm chart for the desired project. It's important to keep these files separate from CI files, like Dockerfile, which should be stored alongside the microservice repositories.
Solution 2:
The comparable action has been carried out in the following manner:
Generate single or multiple foundational diagrams encompassing microservices sharing equivalent arrangements (such as one for backend microservices and another for frontend servers).
Develop an inclusive chart for the application that can be a basic one without any resource configurations, containing only Chart.yaml and values.yaml . The addition of resources unique to the application and unrelated to any specific microservice, such as network policy or ingress, is also a possibility.
One option is to consolidate all items into a single git repository.
my-deployment-repo/
|- base-microservice/
   |- templates/
      |- deployment.yml
      |- service.yml
   |- Chart.yaml
   |- values.yaml
|- base-ui/
   |- templates/
      |- deployment.yml
      |- service.yml
   |- Chart.yaml
   |- values.yaml
|- myapp/
   |- Chart.yaml
   |- values.yaml
Your application chart (indicated by myapp ) can have the base charts\ multiple included as a dependency in its Chart.yaml . To reference these charts in a single git repository, utilize relative paths. For instance,
# Chart.yaml
dependencies:
  - alias: my-microservice-1
    name: base-microservice
    version: "0.1.0"
    repository: file://../base-microservice
  - alias: my-microservice-2
    name: base-microservice
    version: "0.1.0"
    repository: file://../base-microservice
  - alias: my-ui-1
    name: base-ui
    version: "0.1.0"
    repository: file://../base-ui
  - alias: my-ui-2
    name: base-ui
    version: "0.1.0"
    repository: file://../base-ui
It is essential to use alias to ensure charts can be relied on multiple times. This code assigns an alias to the chart's name, enabling the use of {{.Chart.Name}} within subcharts.
In myapp 's values.yaml , subcharts can receive varied values under their alias key. For instance, if {{.Values.image}} it has been utilized in the base microservice, then utilize the following in myapp 's values.yaml
# values.yaml
my-microservice-1:
  image: foo
my-microservice-2:
  image: bar
To implement myapp , execute the subsequent instructions while being situated in the myapp folder.
helm dependency update
helm install myapp .
It is essential to execute helm dependency update before the installation or upgrade of a chart, provided that there are modifications in any of the sub-charts.
To prevent the .tgz files generated helm dependency updatefrom being committed to the repository, it is advisable to ignore them using git.
Solution 3:
To clarify, the inquiry is about the possibility of having a single helm chart that can be applied to all microservices in an application. In this case, the values.yaml file can be utilized to store the template values. However, it should be noted that this approach is not recommended as it can result in the values file becoming unwieldy and difficult to manage for each microservice deployment. Nonetheless, it is still a feasible option to consider.
Suppose two microservices require a single Helm chart for creating a template; instead of creating separate templates for each service under the templates folder and deploying each Helm chart individually, multiple deployments can be created in one template Yaml file. This approach saves time and effort by avoiding repetition.
# For service 1
apiVersion: apps/v1
type: Deployment
etc., etc... (stick in all values.yaml file values here for service 1)
---
# For service 2
apiVersion: apps/v1
type: Deployment
etc., etc... (stick in all values.yaml file values here for service 2)
In the values.yaml file, one can specify the values for each service.
# Service 1 Keys/Values
foo: value
# Service 2 Keys/Values
bar: otherValue
In response to the inquiry, all services can be consolidated into a single Helm chart using the approach above. Consequently, Kubernetes will execute each service separately, as anticipated. It can be challenging to handle the template YAML files and values.yaml files when incorporating values for multiple services in a single file, which makes it an impractical solution for managing numerous services.
It's important to note that using a single Helm chart for each service is technically possible but not advisable due to the disorganized handling of values. It's recommended to verify before proceeding.
If you have just started learning about Helm and Kubernetes then keep in mind, that utilizing a shared Helm chart to manage multiple services poses certain challenges.
A single Docker image is used for all the services.
There exist distinct commands to be executed for every service, with a total number of over 40 services.
Example
pipenv run python serviceA.py
pipenv run python serviceB.py
pipenv run python serviceC.py
and so on...
Current State of the Helm Chart
The helm chart currently possessed is in its current state.
demo-helm
|- Chart.yaml
|- templates
   |- deployment.yaml
   |- _helpers.tpl
|- values
   |- values-serviceA.yaml
   |- values-serviceB.yaml
   |- values-serviceC.yaml
    and so on ...
Steps for Managing Multiple Services
Considering the utilization of a singular helm chart to install numerous services, these steps should be taken
The helm install demo-helm . -f values/values-serviceA.yaml -f values-serviceB.yaml command solely performs a deployment for the values file included at the end.
Here is the deployment.yaml file
apiVersion: apps/v1
kind: Deployment
metadata:
  name: {{ include "helm.fullname" . }}
  labels:
    {{- include "helm.labels" . | nindent 4 }}
spec:
  replicas: {{ .Values.replicaCount }}
  selector:
    matchLabels:
      {{- include "helm.selectorLabels" . | nindent 6 }}
  template:
    metadata:
    {{- with .Values.podAnnotations }}
      annotations:
        {{- toYaml . | nindent 8 }}
    {{- end }}
      labels:
        {{- include "helm.selectorLabels" . | nindent 8 }}
    spec:
      {{- with .Values.imagePullSecrets }}
      imagePullSecrets:
        {{- toYaml . | nindent 8 }}
      {{- end }}
      containers:
        - name: {{ .Chart.Name }}
          image: "{{ .Values.image.repository }}:{{ .Values.image.tag | default .Chart.AppVersion }}"
          imagePullPolicy: {{ .Values.image.pullPolicy }}
          command: {{- toYaml .Values.command |nindent 12}}
          resources:
            {{- toYaml .Values.resources | nindent 12 }}
          volumeMounts:
            - name: secrets
              mountPath: "/usr/src/app/config.ini"
              subPath: config.ini
      {{- with .Values.nodeSelector }}
      nodeSelector:
        {{- toYaml . | nindent 8 }}
      {{- end }}
      {{- with .Values.affinity }}
      affinity:
        {{- toYaml . | nindent 8 }}
      {{- end }}
      {{- with .Values.tolerations }}
      tolerations:
        {{- toYaml . | nindent 8 }}
      {{- end }}
      volumes:
        - name: secrets
          secret:
            secretName: sample-application
            defaultMode: 0400
Update.
As a result of the updated requirement to consolidate all service values into one file, the task is accomplished by following a certain process. deployment.yaml
{{- range $service, $val := .Values.services }}
---
apiVersion: apps/v1
kind: Deployment
metadata:
  name: {{ $service }}
  labels:
    app: {{ .nameOverride }}
spec:
  replicas: {{ .replicaCount }}
  selector:
    matchLabels:
      app: {{ .nameOverride }}
  template:
    metadata:
      labels:
        app: {{ .nameOverride }}
    spec:
      imagePullSecrets:
        - name: aws-ecr
      containers:
        - name: {{ $service }}
          image: "image-latest-v3"
          imagePullPolicy: IfNotPresent
          command: {{- toYaml .command |nindent 12}}
          resources:
            {{- toYaml .resources | nindent 12 }}
          volumeMounts:
            - name: secrets
              mountPath: "/usr/src/app/config.ini"
              subPath: config.ini
      volumes:
        - name: secrets
          secret:
            secretName: {{ .secrets }}
            defaultMode: 0400
{{- end }}
and values.yaml
services:
  #Services for region1
  serviceA-region1:
    nameOverride: "serviceA-region1"
    fullnameOverride: "serviceA-region1"
    command: ["bash", "-c", "python serviceAregion1.py"]
    secrets: vader-search-region2
    resources: {}
    replicaCount: 5
  #Services for region2
  serviceA-region2:
    nameOverride: "serviceA-region2"
    fullnameOverride: "serviceA-region2"
    command: ["bash", "-c", "python serviceAregion2.py"]
    secrets: vader-search-region2
    resources: {}
    replicaCount: 5
Let's see if the adjustments shared below will be compatible with the configuration for values.yaml .
services:
  region:
  #Services for region1
    serviceA-region1:
      nameOverride: "serviceA-region1"
      fullnameOverride: "serviceA-region1"
      command: ["bash", "-c", "python serviceAregion1.py"]
      secrets: vader-search-region2
      resources: {}
      replicaCount: 5

  region:2
  #Services for region2
    serviceA-region2:
      nameOverride: "serviceA-region2"
      fullnameOverride: "serviceA-region2"
      command: ["bash", "-c", "python serviceAregion2.py"]
      secrets: vader-search-region2
      resources: {}
      replicaCount: 5
and deployment.yaml
{{- range $region, $val := .Values.services.region }}
---
apiVersion: apps/v1
kind: Deployment
metadata:
  name: {{ $region }}-{{ .nameOverride }}
  labels:
    app: {{ .nameOverride }}
spec:
  replicas: {{ .replicaCount }}
  selector:
    matchLabels:
      app: {{ .nameOverride }}
  template:
    metadata:
      labels:
        app: {{ .nameOverride }}
    spec:
      imagePullSecrets:
        - name: aws-ecr
      containers:
        - name: {{ $region }}-{{ .nameOverride }}
          image: "image-latest-v3"
          imagePullPolicy: IfNotPresent
          command: {{- toYaml .command |nindent 12}}
          resources:
            {{- toYaml .resources | nindent 12 }}
          volumeMounts:
            - name: secrets
              mountPath: "/usr/src/app/config.ini"
              subPath: config.ini
      volumes:
        - name: secrets
          secret:
            secretName: {{ .secrets }}
            defaultMode: 0400
{{- end }}Solution 1:
helm install demo-helm . -f values/values-serviceA.yaml -f values-serviceB.yaml
To prevent the overriding of service A values by service B values, it is necessary to execute the command separately using a distinct release name in the following manner.
helm install demo-helm-A . -f values/values-serviceA.yaml
helm install demo-helm-B . -f values/values-serviceB.yaml
Helm Deployment vs Service: When creating a helm chart, there are two files: service.yaml and deployment.yaml. Both of them have a name field. If understood correctly, the deployment will manage the pods, replicasets, etc, and thus the service.
List all the Kubernetes resources related to a helm deployment or chart
After deploying a helm chart with helm install , it is necessary to check the status of the pods, services, and CMs associated exclusively with that deployment.Employing kubectl get pods, Searching by name is effective for identifying certain elements, but it may not provide a comprehensive overview of the services and resources deployed alongside this helm chart.
Solution 1:
If using Helm3:
Utilize a label selector with the label app.kubernetes.io/managed-by=Helm to display a catalog of all the resources that Helm is managing.
$ kubectl get all --all-namespaces -l='app.kubernetes.io/managed-by=Helm'
To show all resources under the management of Helm that belong to a particular release, use the following command: ( Edit release-name).
kubectl get all --all-namespaces -l='app.kubernetes.io/managed-by=Helm,app.kubernetes.io/instance=release-name'
Solution 2:
helm get manifest RELEASE_NAME
helm get all RELEASE_NAME
Check out the documentation for Helm's `get manifest` command
Solution 3:
By issuing:
kubectl get all -n | grep ...
The resources are limited to the following.
- pod
- service
- daemonset
- deployment
- replicaset
- statefulset
- job
- cronjobs
You can request the API for all resources by issuing the query using the example provided in the link.
kubectl api-resources --verbs=list --namespaced -o name | xargs -n 1 kubectl get --show-kind -l LABEL=VALUE --ignore-not-found -o name
The API will be queried using this command for all resource types present in the cluster. Afterward, each resource will be queried individually using. label .
To generate components in a Helm chart, apply labels . Afterward, to retrieve data from the API, indicate -l LABEL=VALUE .
EXAMPLE
Assuming that the Helm chart provided has been deployed.
helm install awesome-nginx stable/nginx-ingress
Although this Chart is no longer in use, it is only intended for illustrative purposes.
You can request information for all available resources through the API.
kubectl api-resources --verbs=list -o name | xargs -n 1 kubectl get --show-kind -l release=awesome-nginx --ignore-not-found -o name
Where:
LABEL<- release- The release name of awesome-nginx is assigned to
VALUE.
Following that, you will have the capability to observe:
endpoints/awesome-nginx-nginx-ingress-controller
endpoints/awesome-nginx-nginx-ingress-default-backend
pod/awesome-nginx-nginx-ingress-controller-86b9c7d9c7-wwr8f
pod/awesome-nginx-nginx-ingress-default-backend-6979c95c78-xn9h2
serviceaccount/awesome-nginx-nginx-ingress
serviceaccount/awesome-nginx-nginx-ingress-backend
service/awesome-nginx-nginx-ingress-controller
service/awesome-nginx-nginx-ingress-default-backend
deployment.apps/awesome-nginx-nginx-ingress-controller
deployment.apps/awesome-nginx-nginx-ingress-default-backend
replicaset.apps/awesome-nginx-nginx-ingress-controller-86b9c7d9c7
replicaset.apps/awesome-nginx-nginx-ingress-default-backend-6979c95c78
podmetrics.metrics.k8s.io/awesome-nginx-nginx-ingress-controller-86b9c7d9c7-wwr8f
podmetrics.metrics.k8s.io/awesome-nginx-nginx-ingress-default-backend-6979c95c78-xn9h2
rolebinding.rbac.authorization.k8s.io/awesome-nginx-nginx-ingress
role.rbac.authorization.k8s.io/awesome-nginx-nginx-ingress
Alterations can be made to the output through adjustments to the -o parameter.
Solution 4:
As I failed to locate a suitable source, I created a single-line command utilizing , which displays every object in Kind name style. However, you may encounter some space if the manifests contain only comments.
As a suitable source could not be located, a single-line command was created using yq , which displays every object in style. However, some space may be encountered if the manifests contain only comments.
helm get manifest $RELEASE_NAME | yq -N eval '[.kind, .metadata.name] | join("/")' - | sort
The following link has been shared on Github:
https://gist.github.com/bioshazard/e478d118fba9e26314bffebb88df1e33.
The End Outcome
The Helm template for Kubernetes service with multiple ports raises a question about the optional files in the helm chart file structure, including NOTES.txt.
It is worth noting that when using `helm create`, a directory structure with optional files is created, along with pre-configured templates for deployment, service, and ingress, as well as default values.
For DevOps teams, managing the deployment of microservices on Kubernetes can become a daunting task. However, a common deployment model with a Helm chart can dramatically simplify this process. With a single source of truth, a DevOps team can manage multiple microservices simultaneously, share configurations across different services, and more.
Remember that the Helm chart specifies Kubernetes resources that need deployment, so it's a powerful tool for a team that seeks to manage microservices deployment better across Kubernetes clusters.
Using a single Helm chart for multiple microservices is a solution that will enhance and streamline deployment. By leveraging Helm chart for all Kubernetes deployments, DevOps teams can minimize errors and improve resource utilization for Kubernetes applications.
If you are new to learning about Helm deployment then read my other blog: Part A: How Helm Chart Works. Starting with Basics
Hi! I am Safoor Safdar a Senior SRE. Read More. Don't hesitate to reach out! You can find me on Linkedin, or simply drop me an email at me@safoorsafdar.com